PM: Analysis/Measurements
Condition analysis
of cylinders and roll groups
Generally:
A reliable state determination is an important prerequisite for optimal investment planning and coordination of maintenance activities. Doing this, we should not only look at the individual roll isolated. Rather, all disturbing influences within the roll group – especially when the cylinders are driven – have to be diagnosed and then corrected by means of an economic measure.
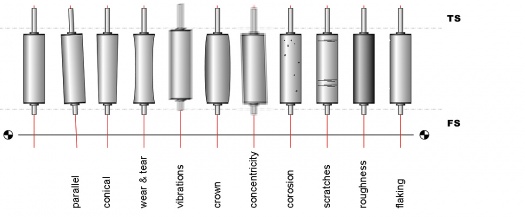
The following causes of problems may occur singly or in combination:
- drive and bearings
- diameters
- group situation
- vibrations
- surface condition
The optimal sequence of the individual steps in the condition analysis is:
- measurements on the whole group of support rollers
- analysis of vibrations
- grinding and balancing
- alignment
Surface condition
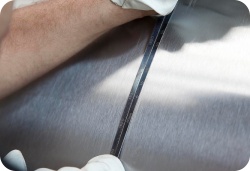
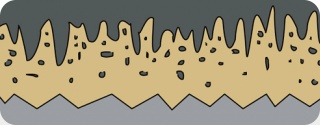
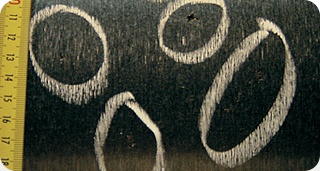
With the help of visual examinations, measurements of roughness, wall thickness and thickness of coating, prints, microscopic images and other diagnostic techniques, the state of the cylinder surface is assessed. The recorded results of these studies provide reliable information, based on which restoration measures can be recommended.

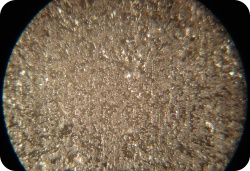
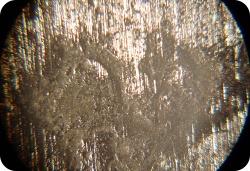
Details, photographed with magnifying glass, provide information about surface finish
Alignment within the group
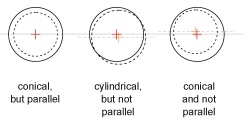
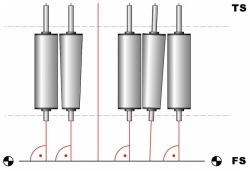 The cylinders inside a dryer group to be parallel to each other in relation of their rotation axes and orientated 90° to machine direction.
Assymetrical cylinder shapes, conical profiles caused by uneven wear and mistakes in alignment lead to differences in speed and paper tear. In order to eliminate such errors effectively, it is also particularly important to examine and to assess the whole group.
To evaluate the cylinder contours procedure is as previously described. Means for measuring the alignment are theodolites and laser.
A careful analysis of the condition of individual cylinder surfaces documents exactly the actual state with the help of meaningful measurement reports. Their expert evaluation is the basis and prerequisite for recommendations, effective action planning and the optimal investment planning in terms of maintenance and repair.
Shape, contour, profile ...
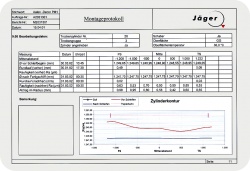

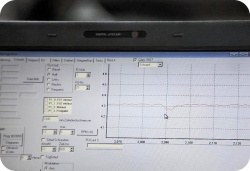
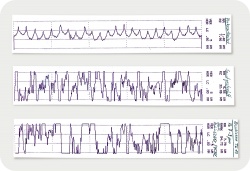
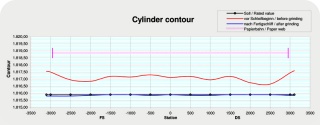
A graph of the actual cylinder shape is generated by measurements of diameter and concentricity at several points within the paper run.
When comparing the results of the measurements with the builders recommended crown, we can get important informations about wear and tear, wall thickness, concentricity or an evtl. conical cylinder contour.
The measurements will be repeated during and after the grindings.
Vibration measurements
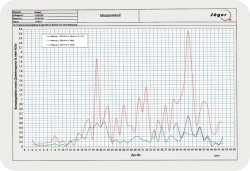
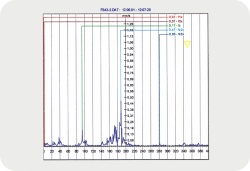
Often vibration issues within a group of support rollers are the reason for frequent paper breaks, or limitations of machine performance and product quality. To locate the causes of such interferences sensors are installed at the critical points such as bearings or drives. These sensors will deliver measurement data of the vibrations as a function of the various operating speeds.
Thus, with the help of the appropriate know-how and suitable applications for the evaluation of the measurement results, the problems causes can be determined and their negative influences can be neutralized. Only the critical bearing and/or drives are replaced and only the unbalanced rolls are balanced. Thus the cost of the repair remain manageable.


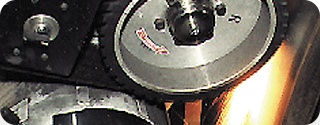

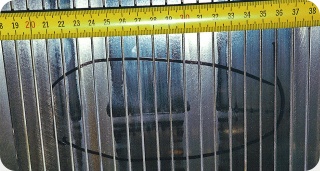


 The cylinders inside a dryer group to be parallel to each other in relation of their rotation axes and orientated 90° to machine direction.